How to Draw a Cheetah Ease Step for Kids
The cheetah may not look particularly dangerous or intimidating when you see one, but they have a secret that sets them apart.
They may be smaller than a lion or a leopard, but they compensate for their lack of power and strength with great speed.
These carnivorous cats are not only fast, but they are the fastest land animals in the world.
They are capable of incredible bursts of speed that make them a formidable foe to the small antelope and gazelles that they hunt.
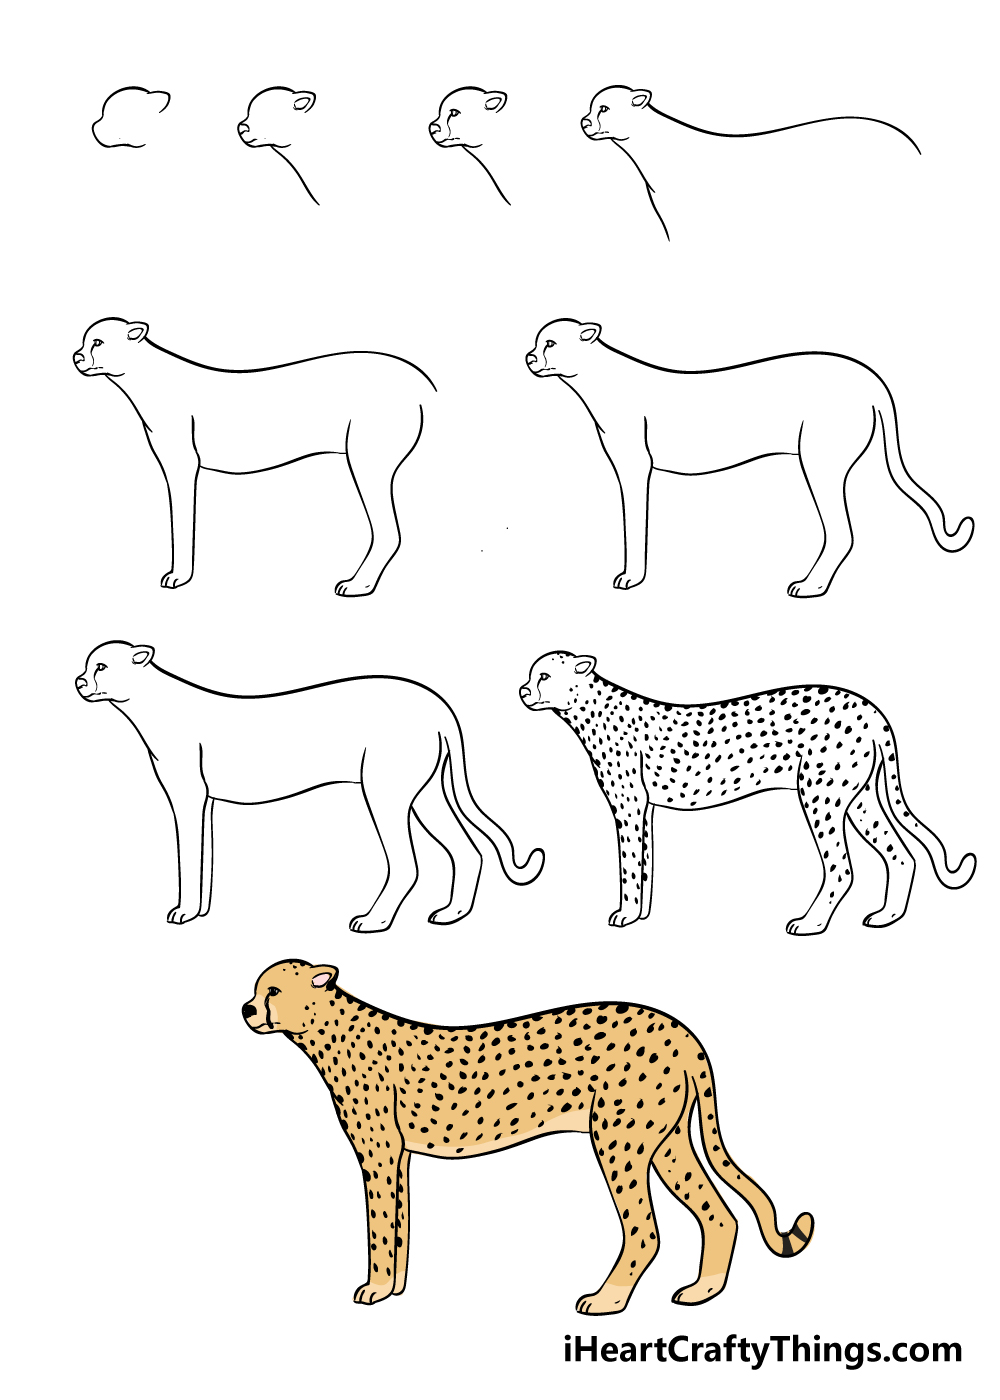
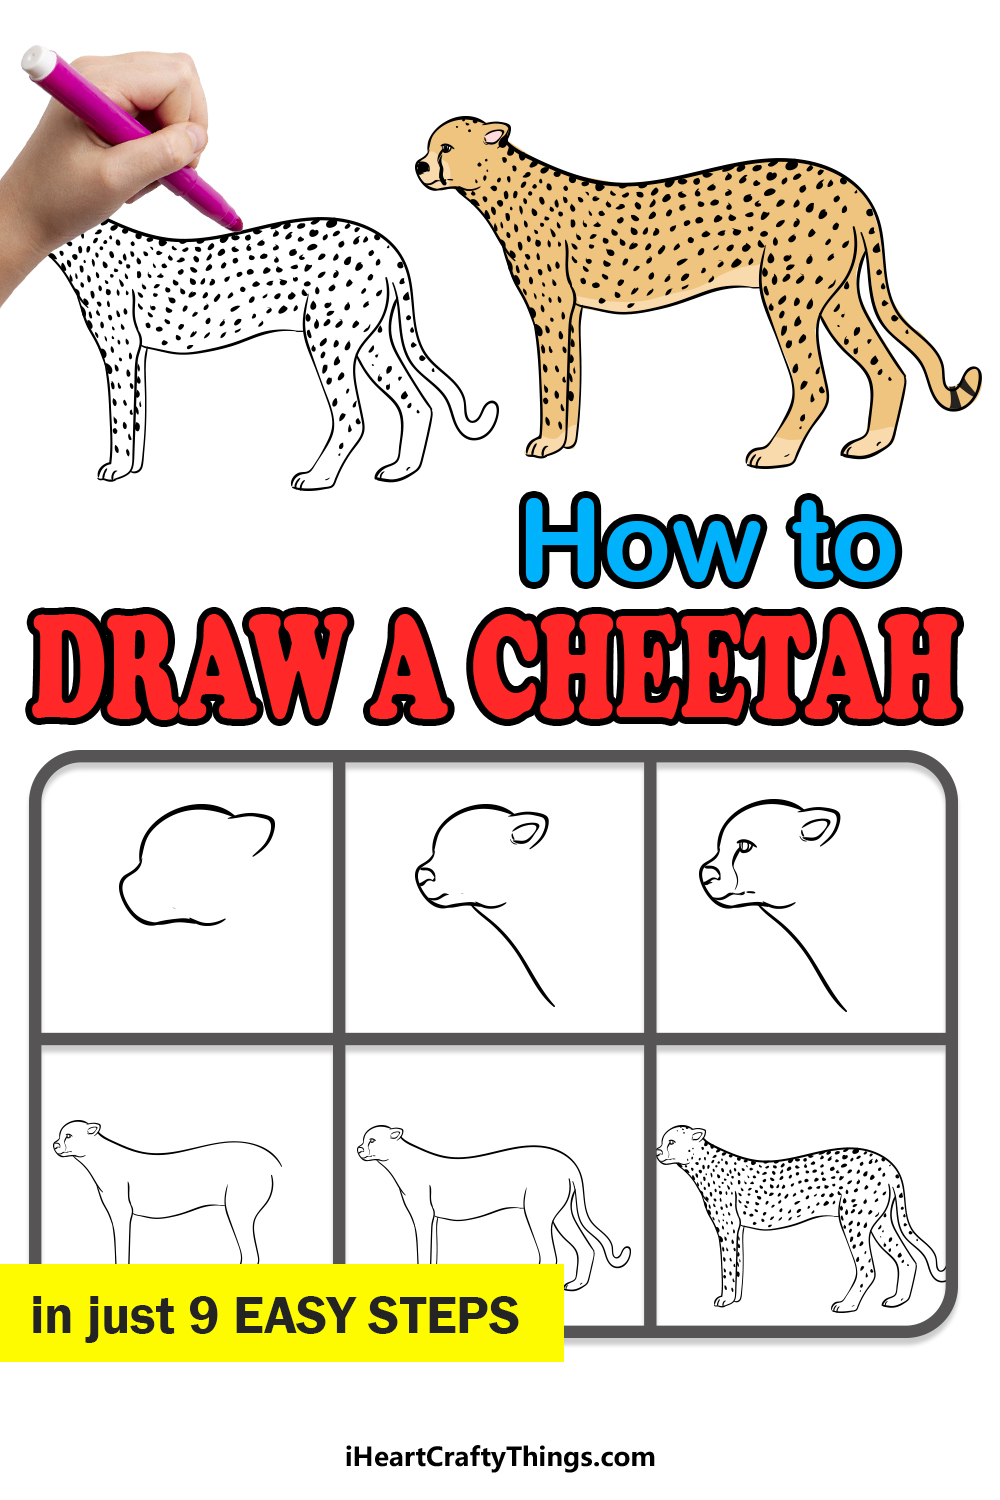
This step-by-step guide on how to draw a cheetah in 9 steps will help you to draw this incredible creature yourself.
What's in this Blog Post
- How to Draw A Cheetah – Let's get Started!
- Step 1
- Step 2 – Next, draw the neck and head details
- Step 3 – Now, draw the eyes
- Step 4 – Start drawing the back of your cheetah
- Step 5 – Now, start adding the legs and belly
- Step 6 – Next, draw the tail of your cheetah
- Step 7 – Draw the other legs of your cheetah
- Step 8 – Next, draw some spots and final details
- Step 9 – Now finish off your cheetah drawing with color
- Your Cheetah Drawing is Complete!
How to Draw A Cheetah – Let's get Started!
Step 1
To kick off this guide on how to draw a cheetah, we will begin with the head. Using the reference picture as a guide, you can see that it has a slightly pointed ear attached to the rounded top of the head.
Then, the muzzle has a rounded square shape to it with a small chin underneath.
Once you have the head looking like our reference picture, then you're ready to add to it in the next few steps of your cheetah drawing.
Step 2 – Next, draw the neck and head details
We will be adding to your cheetah drawing in this next step. First, you can use a simple line coming down from the head for the front of your cheetah's neck.
Then, you can draw the inner ear shape along with a triangular nose shape and a simple line for the mouth to finish off this step of the face.
Step 3 – Now, draw the eyes
One of the ways that you can tell a cheetah apart from the leopard is the distinctive 'tear' marking on their faces.
First, draw a small eye on the side of the face as it appears in the reference image. Then, you can use a curvy line coming down from the face to the mouth to create the tear marking.
Step 4 – Start drawing the back of your cheetah
In step 4 of this guide on how to draw a cheetah, we will draw the back of the cheetah. This will extend right back from the head in a long, curvy line.
The reference picture will guide you on how long this line should be.
Then, carefully draw another line coming down from the front of the chest to add the top of the leg that we will be drawing later.
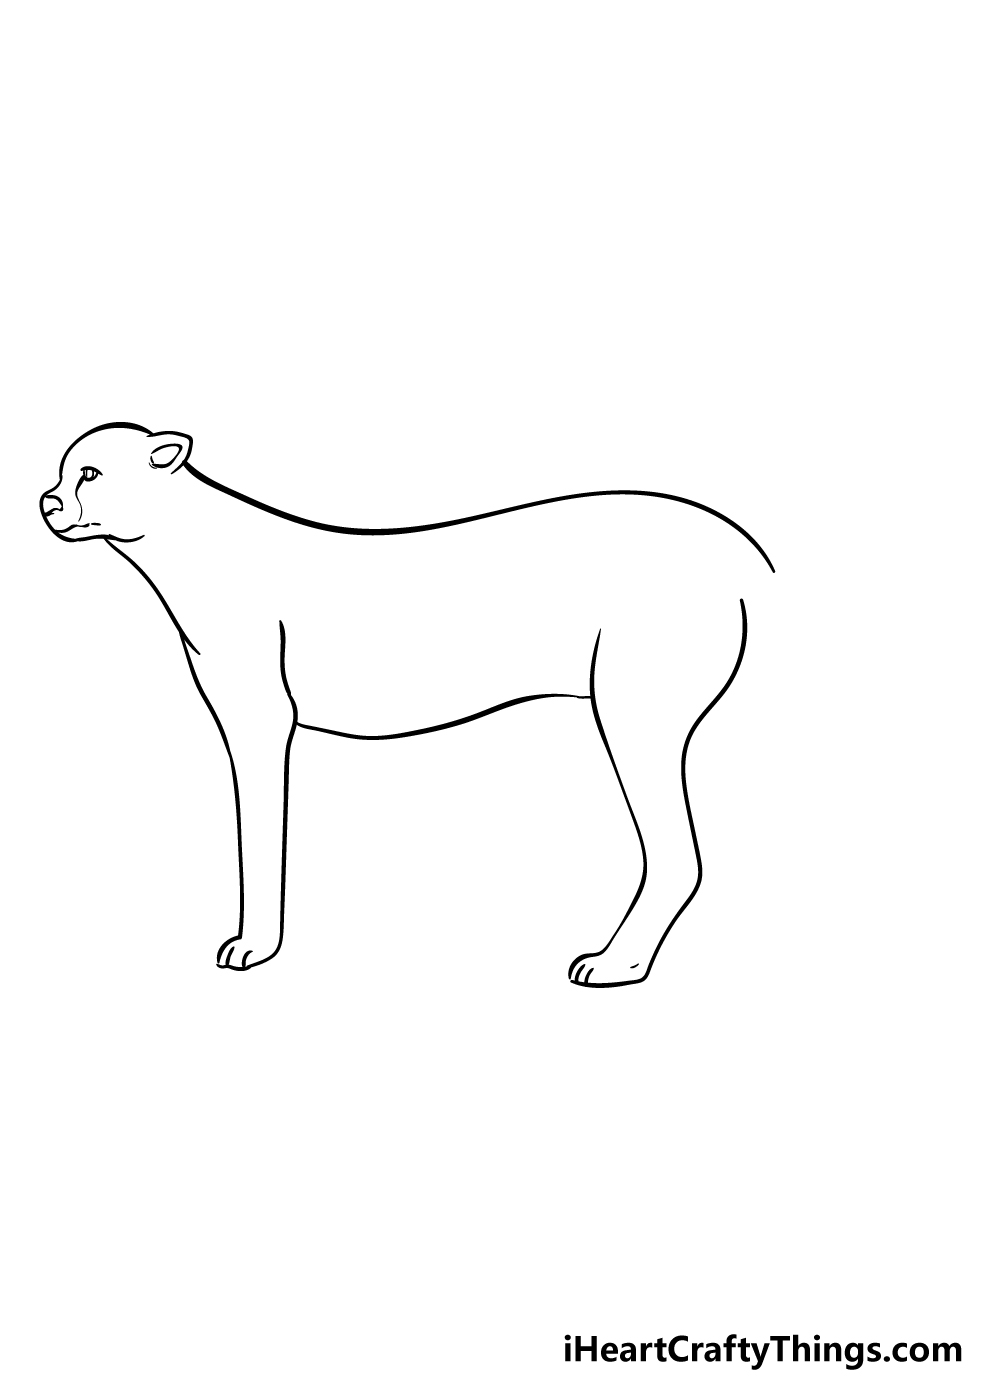
Step 5 – Now, start adding the legs and belly
Cheetahs are known for their speed, but they need their legs for that speed! Therefore, we had better add some legs in this step of your cheetah drawing.
The front leg will be a bit straighter than the back one and comes down from the line attached to the chest that you drew in the previous step.
Then, you can add a curvy line for the belly before drawing the thicker, slightly bent back leg.
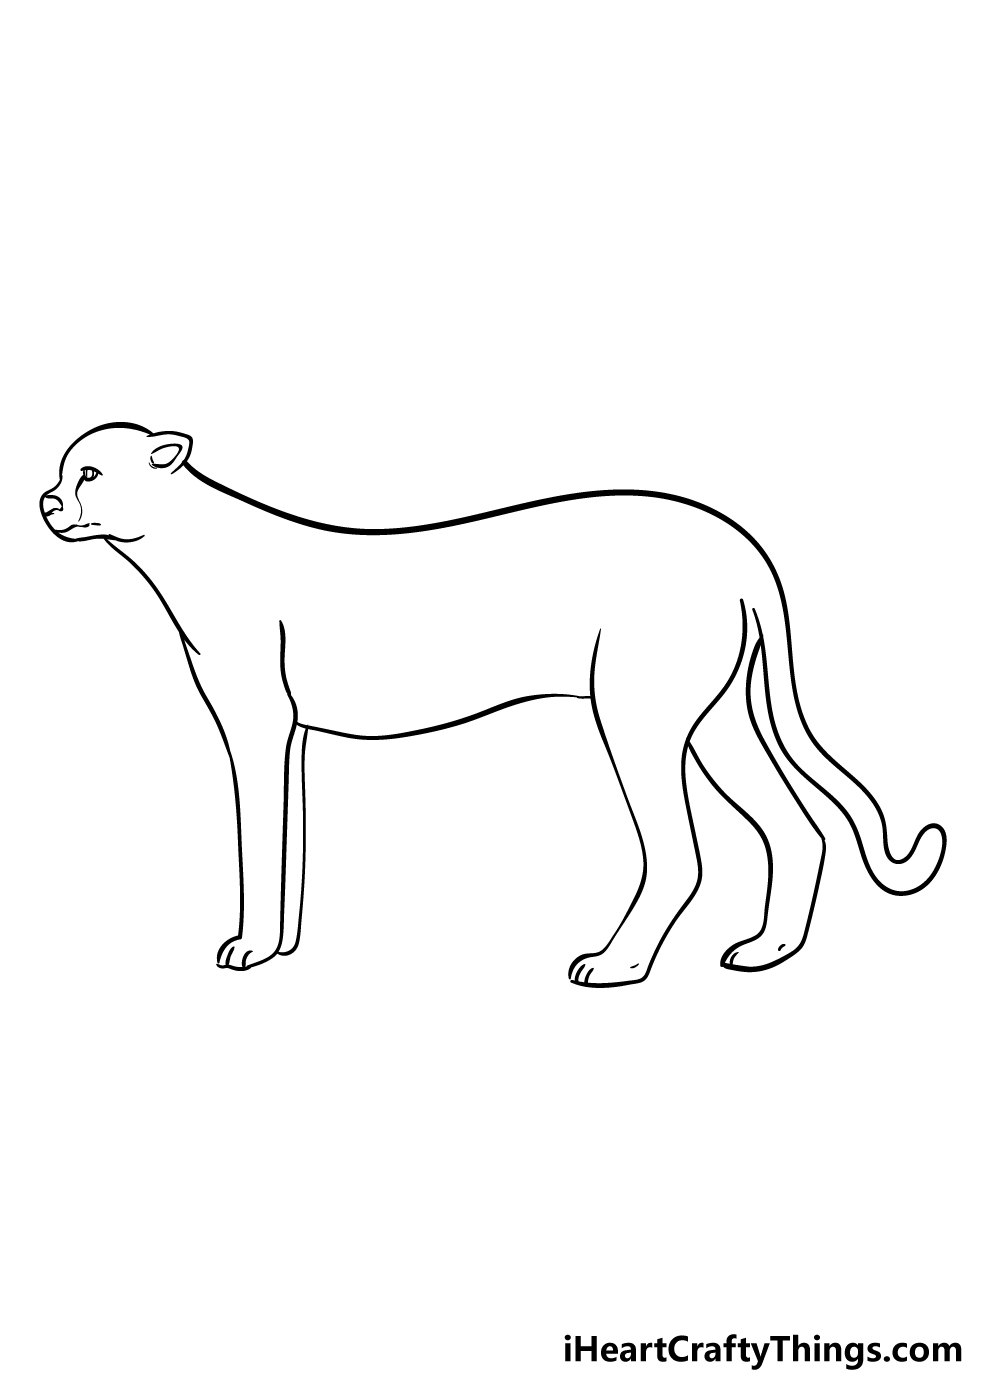
Step 6 – Next, draw the tail of your cheetah
In this step of our guide on how to draw a cheetah, we shall add the long tail. This tail will be made with a thin, curved line that has a sharper bend near the end.
Once you have the tail, then we can move on to step 7!
Step 7 – Draw the other legs of your cheetah
You've already drawn two of the legs for your cheetah drawing, so we will add the next two in this seventh step.
The front leg will be quite simple, as it will be straight like the other front leg. The second one will be a bit more complex, but as long as you follow the reference picture closely you'll have no problems!
It will be a bit more bent like the other back leg, so as long as you follow the design of the other back leg but with more of an angle, you'll easily manage this step!
Step 8 – Next, draw some spots and final details
We have the tear mark on the face, we have the thin legs built for speed and the final recognizable element of a cheetah is some spots for it, which we will add in this step.
Cheetahs have a lot of small, black spots, so this step might require a bit of patience to draw them all in. It will be worth it though, as the spots will finish off the drawing nicely!
Step 9 – Now finish off your cheetah drawing with color
Your cheetah drawing is pretty much done now, and all that remains is to color in your wonderful drawing! Cheetahs have a distinctive dark yellow coloring, and that is what we went with for our example image.
Even if you want to keep your cheetah looking more realistic, there are ways that you can add some color variations to the picture.
The main way that you could do this would be to draw a nice background for the picture.
A bright blue sky with some yellows and greens for the African savannah would add some splashes of color to your drawing!
How will you finish off this wonderful cheetah?
Your Cheetah Drawing is Complete!
This cheetah was one of the trickier pictures we've featured in our tutorials, so you should be very proud of yourself for completing this guide on how to draw a cheetah!
Even though this drawing is a bit more intricate, we hope that by following the steps and taking it slow, you not only discovered it was easier than expected but also had lots of fun!
Now you can show us how creative you can be! You could make this drawing more personalized by drawing more animals, changing the position of your cheetah or by creating a wonderful background!
The drawing fun continues on our site, where we already have tons of amazing drawing guides for you to enjoy!
If that wasn't enough, we have many more that will be coming out frequently, so be sure to check in to our site often to never miss out.
We can't wait to see how you finish off your incredible cheetah drawing, so please share it on our Facebook and Pinterest pages once it's done!
How to Draw a Cheetah Ease Step for Kids
Source: https://iheartcraftythings.com/cheetah-drawing.html